
Hi! We are; Ouen Hunter (student at the Interdisciplinary Ph.D. in Evaluation, IDPE), Emma Perk (The Evaluation Center), and Michael Harnar (Assistant Professor at the IDPE) from Western Michigan University. Recently, we used Photovoice in our evaluation of an Upward Bound program and wanted to share how we reported our findings using the cost-free version of Adobe Spark.
Adobe Spark offers templates to make webpages, videos, flyers, reports and more. It also hosts your product online for free. While there is a paid version of Adobe Spark, everything we discuss in this blog can be done using the free version of Adobe Spark. The software is very straight forward, and we were able to get our report online within an hour. We chose to create a webpage to increase the accessiblity for a large audience.
The free version of Adobe Spark has a lot of features, but it can be difficult to customize the layout. Therefore, we created our layouts in PowerPoint then uploaded them to Spark. This enabled us to customize the font, alignment, and illustrations. Here is how we did it:
A. Create a slide deck in PowerPoint. Use one slide per photo and text from the participant. The first slide serves as a template for the rest.
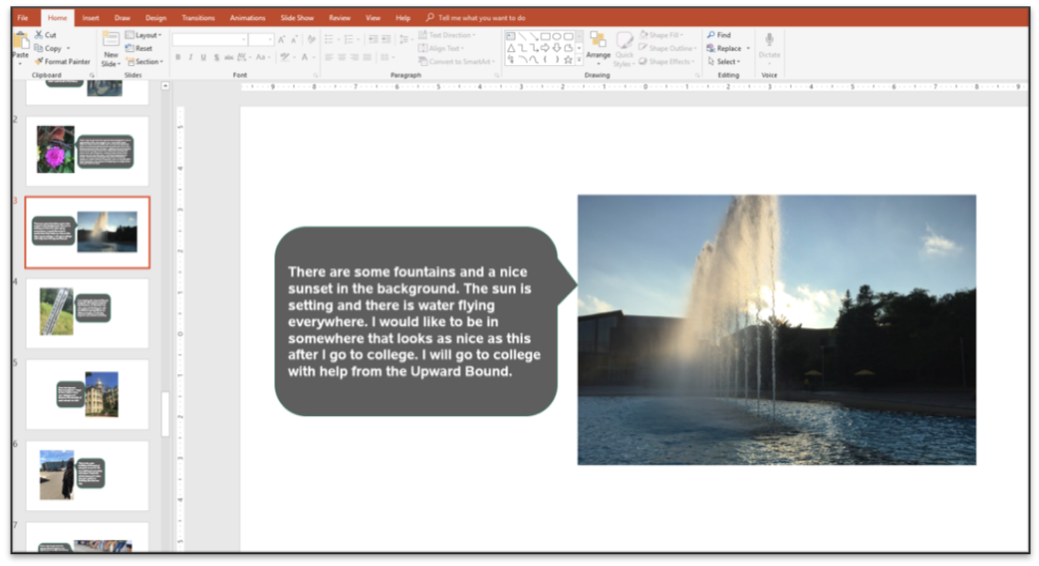
B. After creating the slides you have a few options for saving the photos for upload.
- Use the snipping tool (Windows’ snipping or Mac’s screenshot software) to take a picture of each slide and save it as .PNG.
2. Save as picture in PowerPoint by selecting the image and the speech bubble, right click and save as picture.
3. Export as PNG in PowerPoint. Go to File > Export, then select PNG under File Format dropdown. This will save all slides as individual image files.
C. Create a webpage in Adobe Spark.
- Once on the site, you will be prompted to start a new account (unless you’re a returning user). This will allow your projects to be stored and give you access to create in the software.
- You have the option to change the Theme to match your program or branding by selecting the THEME button.
- Once you have selected your theme, you are ready to add a title and upload the photos you created from PowerPoint. To upload the photos, press the PLUS.
 4. Then select PHOTO.
 5. Select UPLOAD PHOTO. Add all photos and confirm the arrangement.
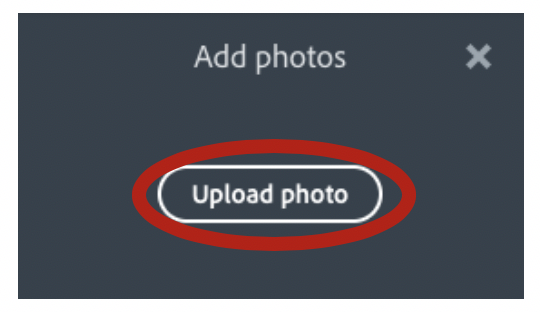 6. After finalizing, remember to post the page online and SHARE the link!

Though we used Adobe Spark to share our Photovoice results, there are many applications. We encourage you to check out Adobe Spark to see how you can use it to share your evaluation results.
*Disclaimer: Adobe Spark didn’t pay us anything for this blog. We wanted to share this amazing find with the evaluation community!
Hot Tips:
- Adobe Spark adjusts automatically for hand-held devices!
- Adobe Spark also automatically adjusts lines for you! No need to use a virtual ruler.
- There are themes available with the free subscription. It makes it easy to design the webpage without a lot of work.
Select multiple photos during your upload. Adobe Spark will automatically separate each file for you.
Do you have questions, concerns, kudos, or content to extend this aea365 contribution? Please add them in the comments section for this post on the aea365 webpage so that we may enrich our community of practice. Would you like to submit an aea365 Tip? Please send a note of interest to aea365@eval.org. aea365 is sponsored by the American Evaluation Association and provides a Tip-a-Day by and for evaluators.
Ouen, Emma, and Michael,
Thank you for sharing about how your team utilized Adobe Spark to present your program evaluation. Your instructions for using creating customized layouts in PowerPoint and exporting them as a .PNG for use in Adobe Spark were extremely helpful. I did not know the software was free, nor was I aware of the benefits included in your hot tips section. Because of your post, I am going to consider utilizing this software throughout my own program evaluation.
Thanks again,
Andrea Lopez
Andrea,
So excited to read that this blog is helpful! Feel free to reach out if you find new tips. 🙂
Ouen
Hi Ouen, Emma, and Michael,
Fantastic use of Adobe Spark Page! Since you first created this project the Adobe Spark team has released a new feature we call “Split Layout” that we hope will make this process much easier for you. You can see a demo that someone recorded of how to create one here: https://www.youtube.com/watch?v=jUMY-aLGvzY
We hope that this feature will simplify your workflow such that you no longer need to use PowerPoint to achieve this layout. Give it a try and let us know if it works for you!
Thanks,
Team Spark